
Process of Antique Cowhide Leather Making
- By:ARTSOME
- 2022-07-26
- 353
Leather is a very popular material that has been produced for thousands of years. Most people have owned something made out of leather and have at some point been curious about how leather is made.
Leather is made from the skin of animals and the skin through a tanning process. Tanning can take anywhere from a few days to a few months depending on the process used. Leather can come in different colors, textures and finishes.
With leather so common, it is fascinating how many different techniques go into leather production and the tanning process. Leather is not susceptible to bacteria and decay because of the altering of the protein structure in the skin. The process of making leather dates back to ancient civilizations and has evolved into a streamlined process. Artsome cow leather is the first layer of cow skin imported from Italian tannery with the thickness between 1mm to 1.3mm, and we have a specialized leather coloring workshop, where we specialize in the making of antique cowhide leathers, which are used for making vintage leather sofas and chairs. Let’s explore a little background, then each of the making steps.
1. General Steps of Cowhide Leather Making
Before going any further you should know cowhide leather meaning. Cowhide is the natural and unbleached skin and hair of a cow. Though it is a product of the food industry related to cattle, it is also very often processed into leather.
Raw cowhide is the body surface tissue peeled off from a cow body, without any chemical or physical mechanical treatment. Raw cowhide is a by-product of meat processing and is the raw material for making cow leather. The peeled raw cowhide needs to be salted to prevent rotting before being sent to a leather factory for processing. Compared with raw cow leather, processed leather is softer, more resistant to microorganisms, and has characteristics of chemical resistance, stronger flexural strength, and better air permeability.
Cow leather processing is the process of chemical treatment and physical and mechanical treatment of raw cow skin to make it into leather. This process can be divided into pre-tanning, tanning and finishing according to the process.
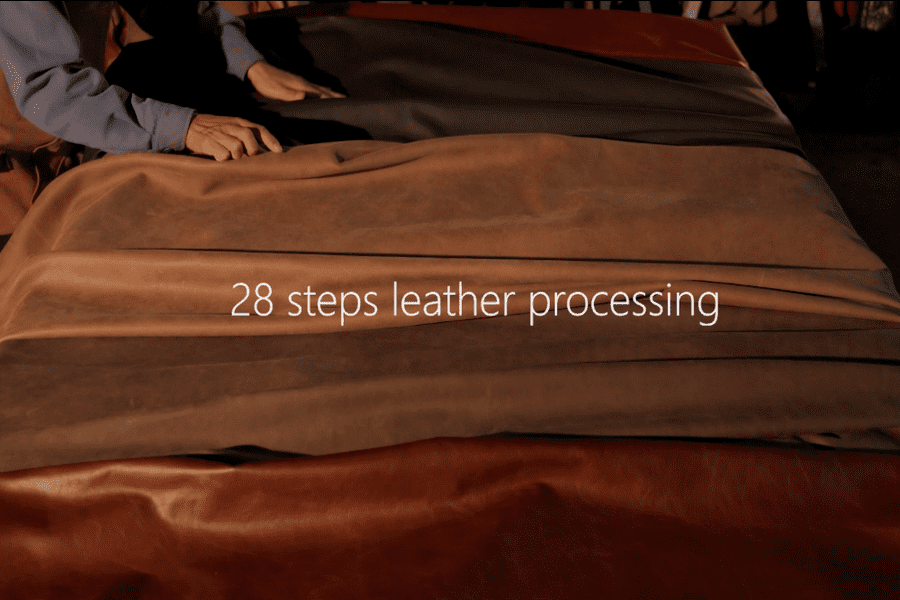
Phase 1 Pre-tanning
Step 1 Curing
Beamhouse is the term that refers to the first phase in the cow leather tanning process. This phase focuses primarily on taking the raw cowhide (cowhide that was just removed from a cow), and preparing it for the tanning process. After removed from an animal, it can very quickly begin to degrade and decompose within only about 5 hours due to bacterial growth. Therefore, it need to be cured or preserved. These preservation methods often involve sun drying, salting, freezing, chilling, or the use of chemicals.
Step 2 Soaking
Raw cowhide will be stained with mud, blood, preservatives and other dirt, and after salting treatment, the water in the skin is lost seriously. The purpose of soaking is to clean the dirt and make the raw cowhide water back to soft. This allows for pliability and further treatment during tanning. Washing is usually done in very large vats or rotating drums, with high volume of leather for efficiency.
Step 3 Liming
The liming step is to help remove a lot of the organic substances that might still be part of the cowhide. These will not be needed later in the processing, or desirable in the final product. Mainly, these include the epidermis, roots of the hair, and additional undesired fats and soluble protein. Once the hair has been removed, we are left with raw cow skin. This is more commonly referred to as a pelt.
Step 4 Fleshing
Once limed, the cowhide is now ready for removal of undesired parts. They have been weakened by the liming process, and unhairing can begin. This is usually done mechanically by machines, rollers, and blades. It can also be done using hand tools and scraping/scudding.
At this point, the cowhide is well cleaned and prepared, and what is left is the most quality parts, which will be further refined and turned into leather during the tanning process. This is the final step in the Beamhouse phase.
Step5 De-liming(Bating)
The PH of the raw cowhide after liming is higher, which is not conducive to tanning and therefore requires de-liming. This step is to remove lime from raw cowhide, reduce PH, and facilitate the penetration and combination of tanning agents during tanning. The acid used for de-liming is mostly weak acid and acid salt. The function of enzyme softening is to remove skin dirt, dissolve part of soluble protein, and make leather soft.
Step6 Pickling (only for chrome tanning)
Tanning requires pelts to be mildly acidic, therefore, pickling involves the application of weak acids or salt solutions. Pickling drops the chrome tanning PH to about 2. At this point, the hides are ready to be tanned. For vegetable tanned leather, pickling is not necessary as the tannins used in vegetable tanning can properly function at a higher PH level.
Phase 2 Tanning
In simple terms, it works by washing fresh hides and treating them with an acid found naturally in vegetables, called tannins. The acid helps to stabilize the cowhide and keep it from rotting. The acid also strengthens the bond inside the cowhide, making it stronger. The cowhides will be dried and the result is a very basic leather. This is often referred to as vegetable tanned or veg-tanned leather.
Methods of Leather Tanning
Tanning has come a long way, and you can now find various tanning routines with specific improvements. While there are various leather tanning methods, you would find most tanners choosing a type of tanning based on what they need for their final product’s appearance. To understand the leather material’s uniqueness, it is crucial to learn about the different tanning methods. Hence, you should know that there are four types of skin tanning for leather, including vegetable tanning, chrome tanning, chrome-free, and zeolite-based tanning.
1. Vegetable Tanning
Vegetable tanning refers to a traditional tanning process that uses tannin-rich plant extracts derived primarily from bark, trunks, and leaves. What’s more, tanners blend tannin extracts according to the desired strength, feel and color of the final product.
Some plants employed for this purpose include Mangrove, Chestnut, Oak, Hemlock, Redoul, Wattle, and Quebracho. The more tannin the leather absorbs, the greater the change of its physical properties. This type of tanning method is the oldest and one of the most environmentally-friendly option you can find. Vegetable tanning dates back more than 5000 years ago, traced to the Ancient Egyptians. For thousands of years, the Romans controlled and regulated the industry, and orthodox recipes were modified at the same time. Modern vegetable tanning now uses avant-garde technologies. Three significant steps involved in vegetable tanning are explained below.
a. The pre-treated and de-haired cowhide is soaked in a vat or tub filled with the tannin extract blend.
b. For an excellent result, the cowhide is left to soak for at least 1-2 months.
c. Then, the cow leather is removed and oiled, waxed, or hot-stuffed to increase its durability and suppleness.
Vegetable-tanned leather is strong, durable, and helpful in making high end home furniture. It also has unique earthy colors, which are pretty attractive. The main shortcoming to vegetable tanning is its long processing time, which also influences its cost in the market as you can find veg tan leather products very expensive.
2. Chrome Tanning
Chrome tanning is another well-known method used to cure more than 80% of leather products in the world. Chrome tanned leather is soft, supple, and reasonably resistant to scratches, stains, and moisture.
This tanning helps to further improve the quality of leather. Note that chrome tanning uses mineral salts (trivalent chromium) rather than natural tannins. In order to demonstrate the effectiveness of chrome tanning, one must know that the tanning process dates back to the late 19th century, when it was invented to aid in large-scale leather production.
Undoubtedly, chrome tanning is effective and swift, as it can get completed within a day. Although the adverse environmental impact of the wastes from chrome tanning raises a significant concern, some measures are now taken to tackle such problems.Hence, the tanning process keeps getting overhauled, and better waste management procedures are introduced. With that in mind, these are the basic steps in chrome tanning.
a. Chrome tanners get the pre-treated cowhide leather
b. Then, a solution of the chemicals or salt is filled in different types of cow leather tanning drums, baths, or tubs at the tannery.
c. The pre-treated cowhides are now immersed in the baths/tubs and left for about 24 hours.
d. The chrome-tanned cowhides are removed and left to dry.
3. Chrome-free tanning
Chrome-free tanning has always occupied a certain dominant position in the industry. Chromium-free tanned leather is frequently maintained to meet specific requirements and find good uses in automotive applications.
The best known of this leather tanning method is aldehyde tanning, which uses a solution of glutaraldehyde. Compared with chrome tanning, the process of chrome free tanning is more complicated. Chrome tanning will not be carried out successfully unless the standard temperature is reached. In addition, this kind of leather requires more chemicals for specific post-tanning improvements. Therefore, before tanned leather is discharged and used for manufacturing products, it undergoes further treatment to improve its properties. You can tell chrome-free tan products apart because they all carry the “FOC” label, which indicates “free or chrome”.
4. Zeolite-based tanning
Zeology is a novel and innovative tanning concept that appears to be a sustainable option. The zeolite chemicals have a characteristic property that absorbs and liberates moisture as the temperature fluctuates.
These zeolites are made up of renewable and natural components found abundantly in the earth’s crust. Impressively, applying this treatment to the cow leather does not affect its performance. Moreover, this type of tanning helps absorb moisture without letting the cow leather swell, which is a desirable feature.
Phase 3 Finishing
Although the tanned leather has been relatively stable, but still can not meet the requirements of use. The purpose of finishing cowhide leather is to give it the appearance and properties appropriate to its use.
Step1 Wringing/Drying
During the tanning process, cow leather have been submerged in various solutions and absorbs a large amount of moisture. So after tanning, the cowhides are dried. In general, this is done either by pressing the cow leather through large, heavy rollers to squeeze out the moisture.
Step2 Splitting
Splitting is the longitudinal cutting of cow leather into thinner layers. Also, each cowhide has several natural layers to it. This needs to be factored in when splitting. A splitting machine with rollers and blades is used to slice the thick cowhides into several layers based on preference.
Step3 Shaving
Once split, the cowhide can be further refined in thickness by shaving. Shaving removes thinner volumes of leather than cutting. When splitting or shaving completely dry cow leather, a large amount of leather dust is produced.
Step4 Re-tanning
Cow leather is tanned to transform from raw cowhide into a delicate, usable material. At this stage of the tanning process, the cow leather has been stabilized, treated, and refined. Generally, for efficiency, the re-tanning steps are done sequentially within a rotating drum, with the washing and drying steps in between them.
Step5 Dyeing
Cow leather is usually tinted, dyed or bleached in order to make it look good. The dye can be water-soluble or oil-based, where the water-soluble dye usually has better penetration and penetrates deep into the fiber. Dyeing is different from painting, which is applying a color to the surface that does not penetrate into the fiber. Using dyes, other materials can be added to influence the properties of the cow leather such as its softness, flexibility and the storage life.
Step6 Fat-liquoring
The main purpose of fat-liquoring is to make the cow leather absorb the right amount of fat, making the cow leather plump and soft, less wrinkles, and elastic. They can include animal oil, vegetable oil, mineral oil and fatting agent, etc. The amount of different oils and fats determines the degree of softness and hardness of cow leather.
Step7 Drying
The purpose of drying is to remove moisture from the surface of the leather and smooth out the wrinkles. Drying methods usually include hanging drying, plate drying, vacuum drying and so on.
Step8 Staking
Staking is a lot like tenderizing meat with a mallet. The cow leather is mechanically beaten to soften the texture. This helps turn it into a smoother, more supple material that is preferred for antique sofas and chairs.
Step9 Surface Finishing
Finishing can not only enhance the beauty of the cow leather surface, enrich the color of the cow leather, but also hide the scars and defects of the cow leather through processing, and improve the appearance and durability of the leather. Finishing has coating, polishing, grinding, embossing and other processes.
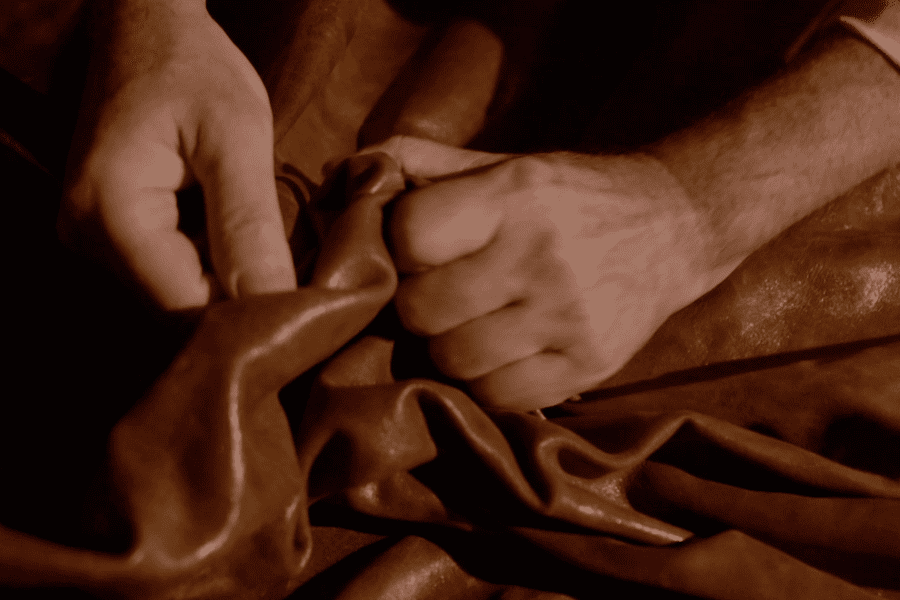
2. Steps of Antique Cowhide Leather Making
Artsome has specialized in the hand-making of antique cowhide leather for many years. Before tanning, artisans will choose an appropriate cow leather billet according to the color needs of the vintage leather sofas.
Step1 Wax Spraying
After spraying wax, let it stands at least 6 hours to better absorb water and oil wax.
Step2 Ironing
This step is to adjust the smoothness of the cowhide and the evenness of the wax.
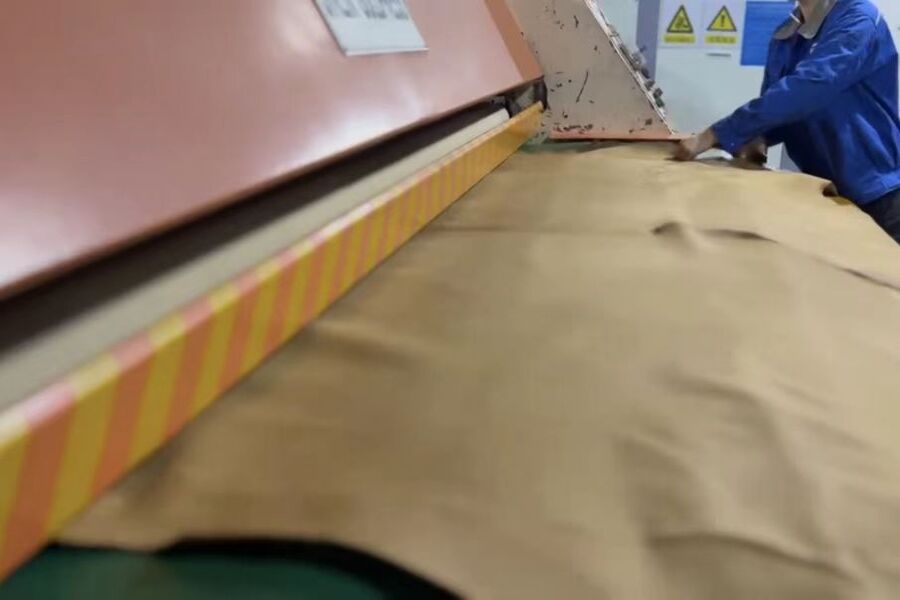
Step3 Base Oil
The base oil needs to permeate into the cowhide leather.
Step4 Drying
After oil the cowhide, it needs to dry in drying room with a specific constant temperature and humidity requirements.
Step5 Coloring
Coloring by hand to create a unique antique leather texture. Ebony black, Chocolate brown, Columbia brown, Cuban brown, Whiskey brown constitute our antique series of cow leather color.
Step6 Surface Oiling
Setting vegetable oil on the surface to protect the brightness and texture of the cowhide leather. After oil the surface, it needs to dry in drying room with a specific constant temperature and humidity requirements.
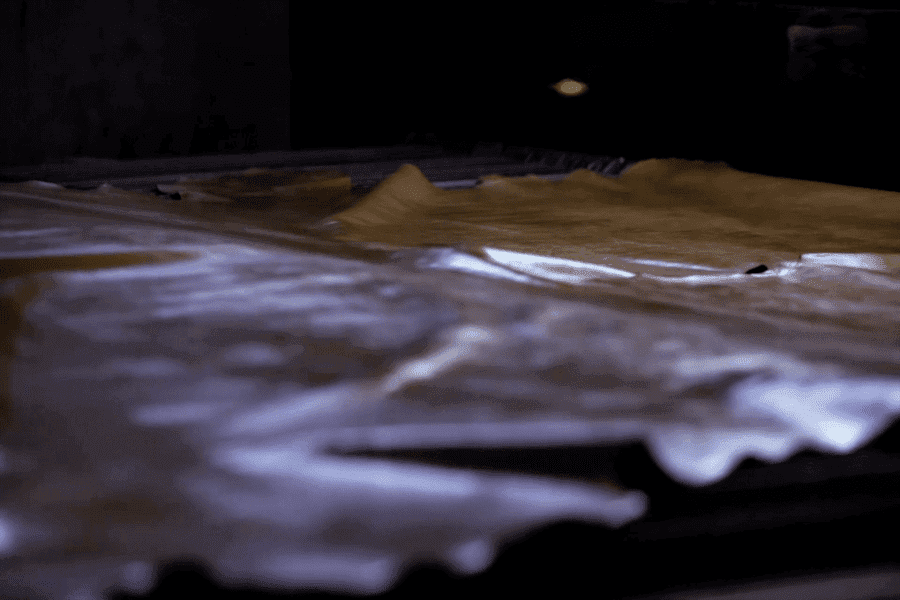
Step7 Staking
The cow leather is mechanically beaten to meet the desired softness the texture of a vintage leather sofa.
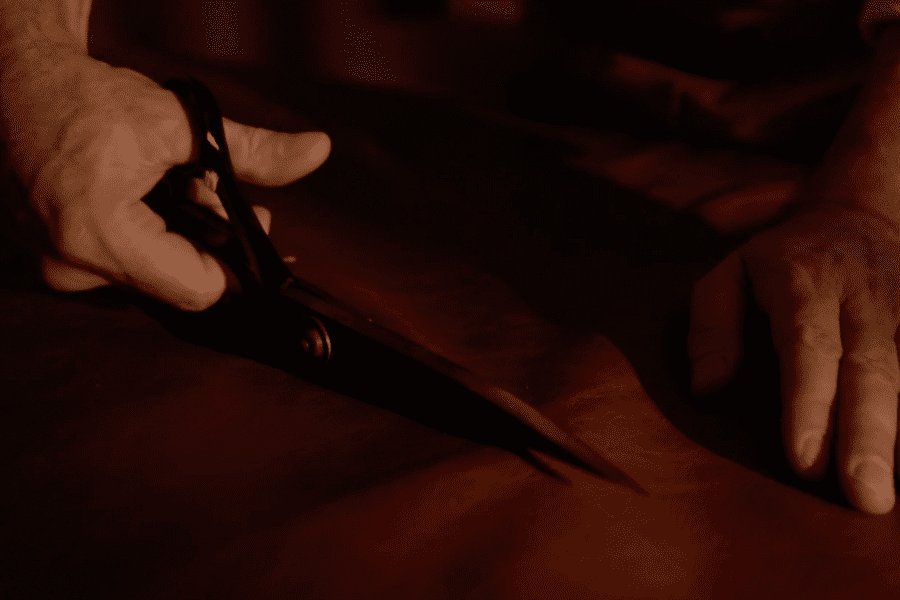
Step8 Cutting
Cutting the cowhide leather into a suitable size and shape to fit the design.
Step9 Cleaning
Using a wet soft cloth to wipe the surface dust that create in the cutting process.
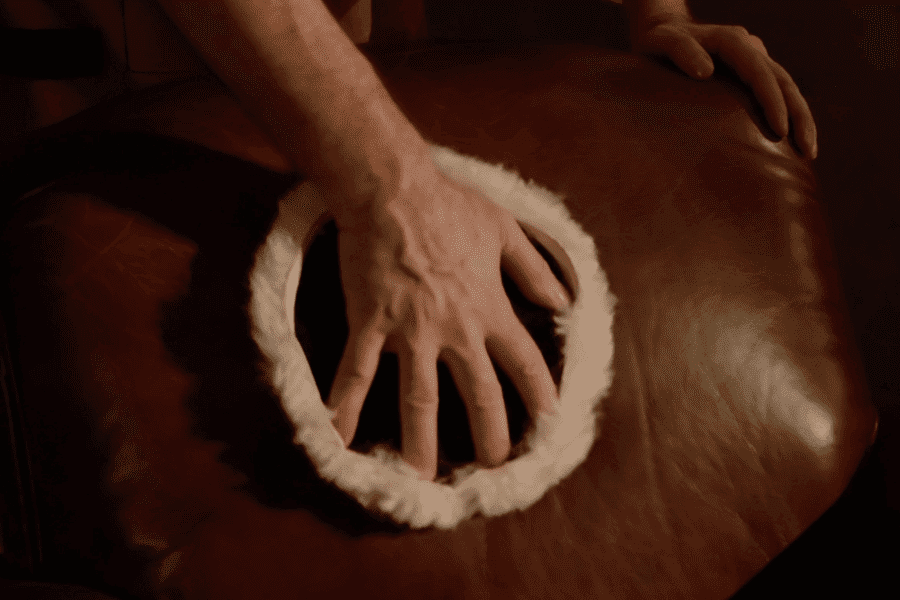
Step10 Distressing
Distressing the contact surface to achieve an antique effect.
Step11 Oil Spraying
Spraying the Eco-friendly vegetable oil on the surface. Next step, it needs to dry in drying room.
Step12 Cracking
Rough cracks are polished on the contact surface, handrail and backrest. Polish the fine crack with a sponge, and create the overall crack effect according to the rough crack texture.
Step13 Making the Copper Nail Old
Copper nail powder will be used in copper nail to ensure the overall antique effect of a vintage leather sofa.
Step14 Polishing
Polish the cowhide leather surface to ensure the gloss of finished products.
Step15 Filming
Apply vegetable oil protective film to protect the brightness and texture of the cow leather.
That is how to make antique cowhide leather. The texture, bruises, wrinkles, insect bite marks and spots on every natural cowhide leather surface represent the life experience of the animal, which is unique to real cow leather. Therefore, each vintage leather sofa made of real cow leather is unique, so these are normal phenomena of natural cow leather, which is inevitable.
-
The Exhibition – Canton Fair 2025 (April)
2025-04-09 -
The Exhibition – The 55th CIFF Guangzhou
2025-03-04 -
New High Back Elephant’s Ear Sofa
2025-02-12 -
Sophisticated Dining Set with Ash Wood Frame and Green Leather Chairs
2025-01-16 -
Merry Christmas & Happy New Year
2024-12-25 -
Luxury King Size Bed
2024-12-23 -
White Linen Cloud Sectional Sofa: A Symphony of Comfort and Style
2024-11-28 -
Stainless Steel Furniture — Kalas Desk And Saddle Leather Chair
2024-11-04 -
Versatile and Stylish Storage Solutions: The Elegance of Wooden Trunk Designs
2024-10-16 -
The Exhibition: Canton Fair 2024 (Autumn)
2024-09-28
-
Egg Chair & Swan Chair, the Iconic Symbol of Scandinavian Design
2023-11-13 -
Vanity Fair Sofa, the Luxurious and Stylish Furniture
2023-10-04 -
A Guide for Modern Metal Furniture
2023-08-15 -
Introduction of Modern Furniture Material — Acrylic and Glass
2023-07-15 -
The Structure & Materials of Artsome Leather Sofa
2022-12-16 -
Modern Furniture Finishes & Furniture Care Tips
2022-11-14 -
How to Design the Modern Furniture Sofa
2022-10-02 -
Tips for Looking for a Quality New Bed
2022-09-13 -
Tips for Mid-Century Modern Furniture Placement
2022-08-19 -
Types & Identifying Tips of Cowhide Leather
2022-08-06


